Have you ever scanned an old photo or a document remove bleedthrough in irfanview only to discover unsightly bleedthrough ruining your digital masterpiece? You’re not alone.
Many of us have experienced this frustrating issue, where the ink from one side of a page bleeds through and spoils the clarity of our images.
Fear not! If you’re using IrfanView, there’s hope on the horizon.
This powerful yet user-friendly software offers tools that can help you effectively remove bleedthrough in irfanview and enhance your visuals.
Let’s dive into understanding what causes this pesky problem and how you can reclaim your images with ease!
Understanding Bleedthrough and its Causes
Remove bleedthrough in irfanview occurs when ink or toner from one side of a page seeps through to the other, creating unwanted marks on your digital image. This issue is especially common in double-sided documents and photographs that have been printed using certain types of paper.
Several factors contribute to bleedthrough. The quality of the paper plays a significant role; thinner papers are more prone to this problem. Additionally, high ink saturation can exacerbate bleedthrough, as excess moisture penetrates deeper into the fibers.
When scanning old photos or documents, lighting conditions may also affect how much bleed shows up in your final product. A poorly calibrated scanner might capture these imperfections more prominently than intended. Understanding these causes helps you tackle them effectively and improve your imaging process going forward.
The Importance of Removing Bleedthrough in Digital Images
Remove bleedthrough in irfanview can significantly affect the quality of your digital images. It often manifests as unwanted artifacts that distract from the main subject. These imperfections not only detract from the visual appeal but can also alter the message or feelings intended by the image.
remove bleedthrough in irfanview ensures clarity and enhances professionalism, particularly for photographers and graphic designers. High-quality visuals are essential in a competitive landscape; any flaw may undermine your credibility.
Additionally, cleaning up these distractions makes images more versatile. Whether used for marketing materials, social media posts, or personal projects, polished images resonate better with viewers.
When you take steps to eliminate bleedthrough, you’re not just improving aesthetics—you’re elevating your entire presentation. This attention to detail speaks volumes about your commitment to excellence in your work.
Using IrfanView to Remove Bleedthrough
Remove bleedthrough in irfanview is a versatile tool that many photographers and graphic designers appreciate. Its user-friendly interface makes it easy to navigate for both beginners and seasoned users.
When dealing with bleedthrough, remove bleedthrough in irfanview offers several features to help mitigate the issue effectively. You can adjust contrast, brightness, and saturation levels to minimize unwanted color leaks from underlying layers or textures.
The software also allows you to use filters that enhance image quality. These tools refine details while reducing the impact of any bleedthrough present in your images.
Another advantage of using IrfanView is its batch processing capability. This means you can apply settings across multiple files at once, saving time when working on large projects.
With just a few clicks, you can transform your images into cleaner visuals, free from distracting bleedthrough effects.
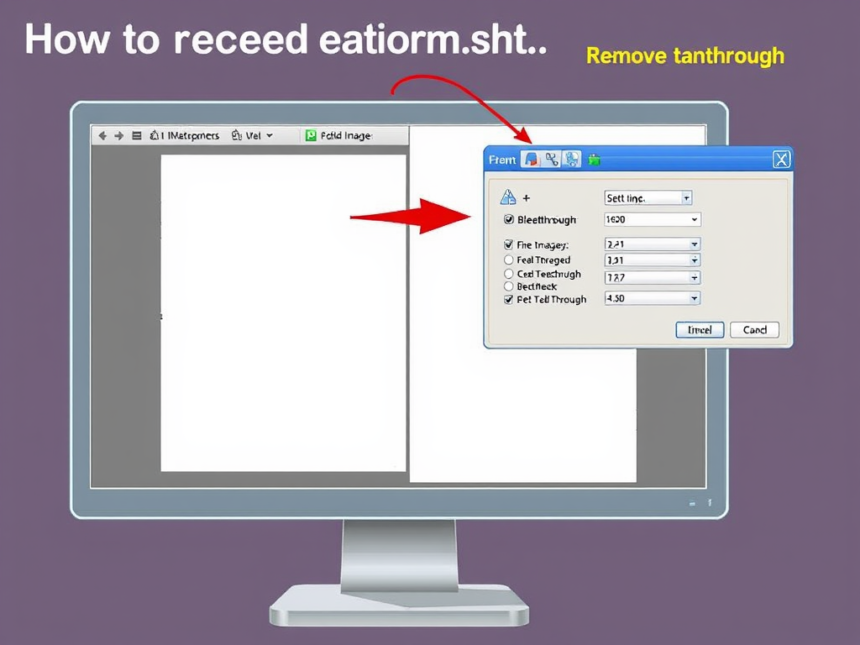
Step-by-Step Guide for Removing Bleedthrough in IrfanView
To remove bleedthrough in irfanview, start by opening the image you want to edit. Click on “File,” then select “Open” and choose your image file.
Next, navigate to the “Image” menu located at the top of the window. From there, select “Reduce Noise.” This feature helps minimize unwanted artifacts that contribute to bleedthrough.
Adjust the noise reduction sliders. A subtle touch works best—too much can alter your image’s quality. Preview changes as you adjust to find a balance between reducing bleedthrough and maintaining clarity.
Once satisfied with the adjustments, save your edited image. Click on “File,” then hit “Save As” for a new version or overwrite an existing one if preferred.
This straightforward approach allows users to effectively manage bleedthrough while preserving essential details in their images.
Tips and Tricks for Best Results in Removing Bleedthrough
To achieve the best results when you remove bleedthrough in IrfanView, start by adjusting your image’s brightness and contrast settings. A slight tweak can significantly enhance the overall clarity of your photo.
Use the selection tool wisely. Isolating only the areas affected by bleedthrough minimizes any unintended changes to other parts of your image. This precision is crucial for maintaining a professional look.
Experiment with color adjustment features as well. Sometimes, simply altering hues or saturation levels can mask residual effects from bleedthrough.
Don’t shy away from using filters either. Applying certain filters may help smooth out imperfections while preserving detail elsewhere in the image.
Save copies of different versions during editing. This way, you can always revert back if needed without losing progress on your project entirely.
Alternative Methods for Removing Bleedthrough in IrfanView
If you’re looking for alternative methods to remove bleedthrough in IrfanView, several options can enhance your editing process. One effective technique is adjusting the levels or curves. This helps in enhancing contrast and minimizing the visibility of any unwanted bleeding.
Another method involves using the “Clone Stamp” tool. It allows you to manually cover up areas with bleedthrough by sampling adjacent pixels. This can be particularly useful for intricate details that automated settings might miss.
You could also experiment with color correction features within IrfanView. Tweaking saturation or hue adjustments may help mask faint bleed-through effects, giving your image a more polished look.
Consider utilizing batch processing if you’re dealing with multiple images. Applying consistent settings across all photos saves time while ensuring quality control during editing sessions. Each of these strategies offers unique advantages depending on your specific needs and skill level.
Conclusion
Digital images often suffer from bleedthrough, which can detract from their overall quality. Understanding the causes of this issue is key to addressing it effectively. Using IrfanView provides a straightforward solution for those looking to enhance their photos.
Removing bleedthrough not only improves image clarity but also makes your work more professional. The step-by-step guide provided earlier offers a practical approach, ensuring that even beginners can follow along and achieve great results.
With some tips and tricks in mind, you can maximize your efficiency when using IrfanView for this purpose. Exploring alternative methods may also provide different avenues to fine-tune your skills further.
Mastering how to remove bleedthrough in IrfanView empowers you as a digital creator, letting you present images that are polished and visually appealing. Embrace these techniques and watch your photography improve significantly.