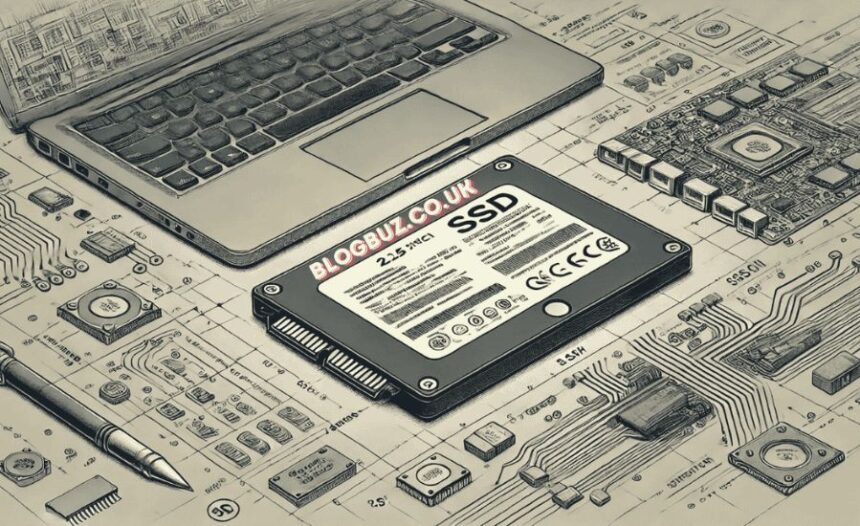
Introduction to Part Number 87100501A
Installing a new part can feel like a daunting task, especially when you’re dealing with something as specific as part number 87100501a .
Whether you’re a seasoned DIY enthusiast or just dipping your toes into the world of home repairs, understanding how to properly install this component is crucial for ensuring optimal performance.
The good news? With the right tools and guidance, you can tackle this installation with confidence.
This guide will walk you through each step of the process, from preparation to maintenance, making sure that your experience is smooth and successful. Let’s dive in!
Tools and Materials Needed for Installation
Before diving into the installation of part number 87100501A, it’s crucial to gather the right tools and materials. This preparation phase can save you time and frustration down the line.
Start with basic hand tools, such as a screwdriver set, pliers, and a wrench. These will help you tackle screws and connections effortlessly. A multimeter is also essential for checking electrical continuity during wiring.
Next, ensure you have the specific parts that come with part number 87100501A. Verify that all components are included in your package before beginning.
Don’t forget safety gear! Gloves and goggles should be worn to protect yourself from any sharp edges or debris during installation.
Having good lighting in your workspace can make a significant difference in visibility while working on complex tasks. Gather these essentials before proceeding to ensure a smooth installation process ahead.
Step-by-Step Guide to Installing Part Number 87100501A
To start, clear the workspace where you’ll be installing part number 87100501A. Ensure that it’s clean and organized to facilitate a smooth process.
Next, gather all necessary components. Double-check your parts against the provided list to avoid any surprises later on.
When assembling the parts, follow the manufacturer’s instructions closely. Take your time ensuring each piece fits properly without forcing anything into place.
As you move to connect the wiring, pay attention to color codes and labels. This step is crucial for functionality; mismatched wires can lead to malfunctions.
Afterward, secure everything in position firmly but gently. Use appropriate tools for tightening screws or fasteners—too much force could damage sensitive components.
A. Preparing the Area for Installation
Before diving into the installation of part number 87100501A, it’s essential to prepare your workspace. A clean and organized area will make the process smoother.
Start by clearing away any clutter. Ensure you have ample space to maneuver and access all necessary components comfortably. This will prevent accidents and lost parts during installation.
Next, gather any furniture or equipment that may obstruct your movement. If needed, cover surfaces with a drop cloth to protect them from dust or damage.
Also, ensure proper lighting in the area. Good visibility helps you see every detail clearly as you work on this project.
Consider wearing safety gear like gloves and goggles if required. Taking these precautions sets a solid foundation for a successful installation experience without unnecessary interruptions or mishaps.
B. Assembling the Parts
Assembling the parts for part number 87100501A is a straightforward process that sets the foundation for a successful installation. Start by laying out all components on a clean surface. This helps you visualize how everything fits together.
Next, refer to the instruction manual included with your part. It provides crucial details about each component and its specific function in the assembly process. Familiarize yourself with these instructions before diving in.
Begin connecting smaller components first, ensuring each piece clicks into place securely. Don’t rush this step; accuracy matters more than speed here.
Once you’ve attached all parts, give them a gentle tug to ensure they are firmly assembled. Any loose connections can lead to issues later on during operation! Taking time at this stage pays off down the line, making sure everything functions smoothly when it’s time for use.
C. Connecting the Wiring
Connecting the wiring for part number 87100501A is a crucial step that requires careful attention. Begin by identifying the correct wires based on your installation guide. Each wire typically serves a specific function, so ensure you know which connects to power and which leads to control.
Strip about half an inch of insulation from each wire end if necessary. This allows for a better connection with terminals or connectors. Twist-on wire connectors often provide secure connections, but soldering can offer added durability in some cases.
Be mindful of color codes; they are there for a reason. Match colors appropriately – this prevents confusion and potential electrical issues later on. After connecting everything, gently tug on the wires to ensure they’re secure but avoid excessive force.
Take a moment to double-check your work before moving forward. A small oversight now can lead to bigger problems down the line.
D. Properly Securing the Part in Place
Once you’ve connected the wiring, it’s time to focus on securing part number 87100501A in place. This step is crucial for ensuring optimal performance and preventing any potential issues down the line.
Begin by aligning the part with its designated mounting points. A precise fit will make all the difference in stability. Take your time here; rushing can lead to misalignment.
Next, use the appropriate fasteners as specified in your installation guide. Tighten them gradually, ensuring not to overtighten, which could damage components or strip threads.
After fastening, give everything a gentle shake to check for movement. If it feels secure, you’re on the right track! Ensuring that everything is locked into position will enhance durability and function effectively over time.
Common Mistakes to Avoid during Installation
When installing part number 87100501A, several common mistakes can lead to frustrating setbacks. One major error is neglecting to read the installation manual thoroughly. Skipping this critical step can result in missteps that are hard to fix later.
Another frequent oversight is using the wrong tools or materials. Always ensure that you have everything needed before starting your project. This preparation saves time and hassle down the line.
Failing to double-check connections is another pitfall. Loose wires can cause malfunction or even safety hazards, so take a moment to inspect each connection carefully.
Rushing through any part of the installation process often leads to problems. Take your time and follow each step methodically for a smooth experience. Being cautious pays off in achieving optimal performance with your new part.
Troubleshooting Tips
When installing part number 87100501A, issues can arise. If you find that the part isn’t functioning as expected, start with a visual inspection. Look for any loose connections or damaged wires.
If everything appears intact but the part still doesn’t work, double-check your wiring against the installation guide. Sometimes, a simple mix-up can cause major headaches.
Testing components individually is another effective strategy. This helps identify if one specific piece is faulty rather than assuming the whole assembly has failed.
Pay attention to error codes or blinking lights if your setup includes them. These indicators often provide clues about what might be wrong.
Don’t hesitate to consult online forums or manufacturer support for additional insights from others who have faced similar challenges. Getting advice directly from seasoned users can save time and frustration in troubleshooting your installation.
Maintenance and Care for Part Number 871
To ensure that part number 87100501A operates efficiently over time, regular maintenance is essential. Start by inspecting the part for any signs of wear or damage. Check all connections and wiring to make sure they are secure and free from corrosion.
Cleaning is another important aspect of maintenance. Use a soft cloth to wipe down the exterior surfaces, removing dust and debris that can accumulate over time. For more thorough cleaning, follow manufacturer guidelines regarding safe cleaning agents.
Keep an eye on performance as well; if you notice any unusual sounds or behaviors, it may be indicative of underlying issues needing attention. Regular checks will not only prolong the lifespan of your part but also enhance its overall efficiency.
By adhering to these simple maintenance tips, you can help ensure that part number 87100501A remains in top condition for years to come.